1. Overview
To ensure high-quality audio during calls and recordings, it is necessary to calibrate the microphone input levels. This guide provides the navigation path for both Windows 10 and Windows 11 systems.
2. Configuration Steps
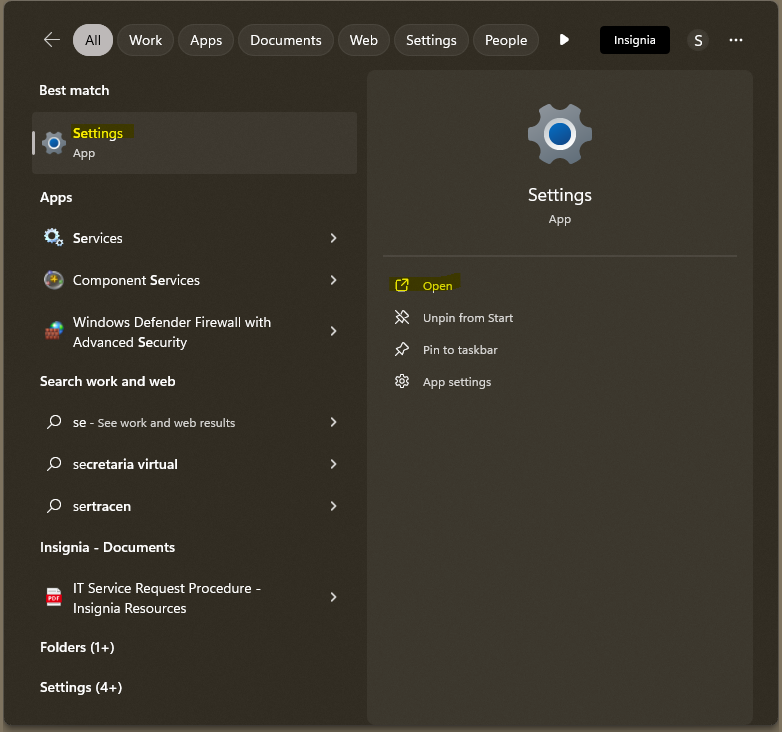
Step 1: Access System Settings
Open the Windows Search Bar (Windows Key + S), type "Settings", and select the application.
Step 2: Navigate to Sound Parameters
Within the Settings menu, select System from the left-hand navigation pane, then click on Sound.

Step 3: Device Selection
Scroll down to the Input section. Identify your active device (e.g., Headset Microphone). Click the arrow or the device name to enter the Properties menu.

Step 4: Manual Volume Adjustment
Locate the Input Volume slider under the "Input Settings" header.
Recommended Range: Set the slider between 60% and 75%.
Validation: Speak at a normal volume to ensure the "Test your microphone" bar shows active input without hitting the maximum peak.

3. Summary Path
For quick reference, follow this breadcrumb path:
Settings > System > Sound > Input Device > Properties > Input Volume
4. Troubleshooting & Support
Device Not Found: Ensure the headset is securely connected via USB.
Low Audio: If the 75% setting is still too quiet, incrementally increase the volume by 5% until the desired clarity is reached.
Devices Inputs: Something other devices (WebCam) takes control over the audio input instead of the headsets. Make sure to manually change it into the headsets and/or disconnect the device if not in use.
Was this article helpful?
That’s Great!
Thank you for your feedback
Sorry! We couldn't be helpful
Thank you for your feedback
Feedback sent
We appreciate your effort and will try to fix the article